A simple and easy guide to how to set up your privacy settings on Facebook.
I mainly use Facebook to communicate with my friends, facilities like sharing photos of fun nights out are great. But what do you do when someone you would not want access to this asks to become your friend. It could be your boss or work colleague, or if you are a politician a constituent. You don’t want to seem rude by saying no whilst at the same time wanting to keep your personal and political life separate.
By setting up privacy settings you can say yes to your constituent and become there online friend, whilst protecting your Facebook privacy.
There are also some ‘dodgy’ profiles out there. People who are not who they seem to be and may be fishing your profile for a story. Here you may want to create a privacy setting which means they can still add you as a friend but will find nothing of interest (or of use to them) on your profile.
Here is how to create a profile that would allow them to add you as a friend but would show them nothing.
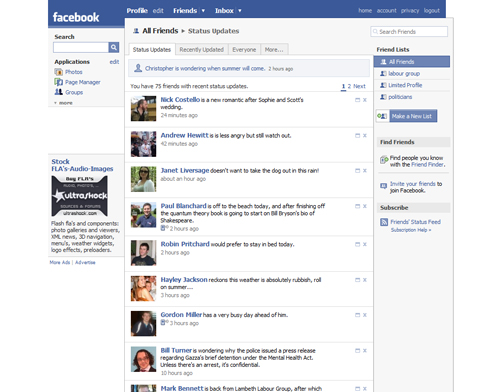
Click the friends link at the top of the Facebook navigation
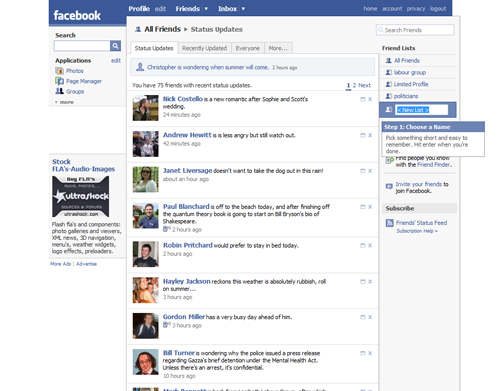
Click ‘Make a new list’ and enter a name for your list
I created a group called ‘see nothing’ and after pressing enter was prompted to enter names for whom I wanted to be part of this group

Now if you know me this was only a test – so the names here were removed afterwards. Enter a list of people you wish to include. When people ask to become your friends in future you will be able to add them to a list as you accept them.
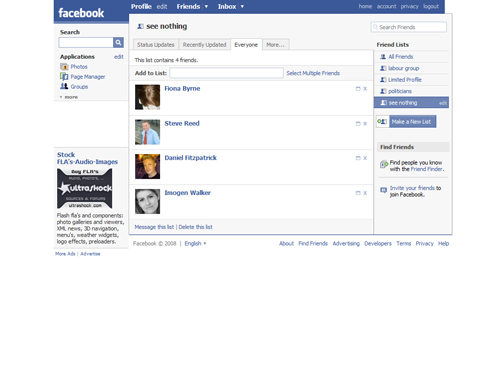
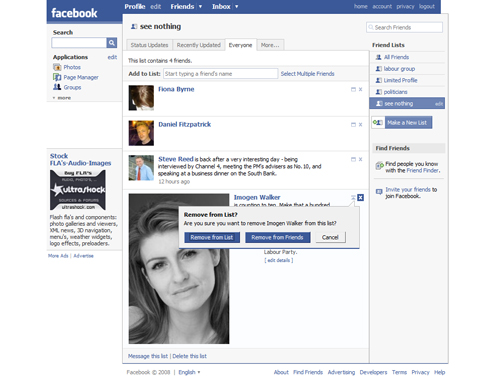
Removing someone from the list is very easy, just click the x by the persons details.
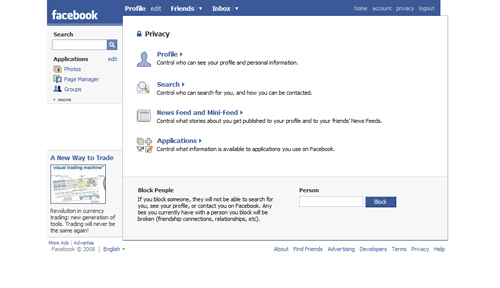
So you have created your list of people. This list can also be used as a mailing list, enabling you to email a group of friends without entering their names separately. For the purpose of this we want to restrict their access. To do this now click the ‘Privacy’ link in the Facebook navigation.
Here I have selected ‘Profile’. You then need select to ‘customise’ access for each element that you wish to restrict access to.
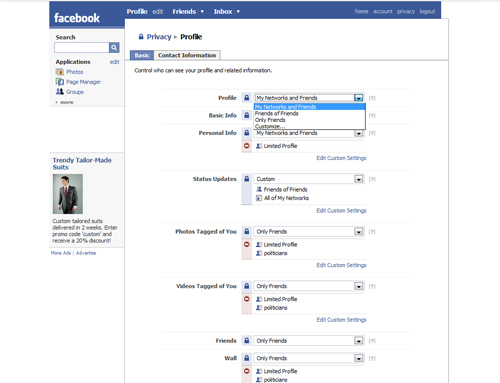
This will then provide the ability to ‘Edit Custom Settings’. Click the ‘Edit Custom Settings’ link for each item

Click ‘Edit Custom Settings’ for each element you wish to restrict access to and enter the name of your list.
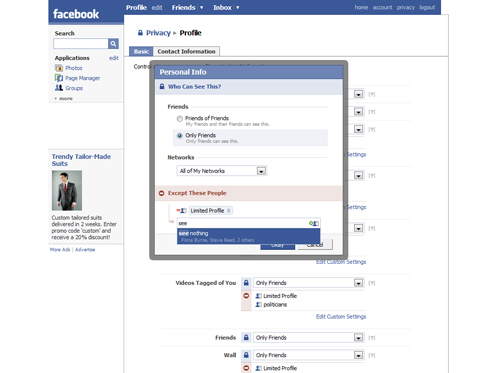
Members of these lists will now no longer have access to this content.
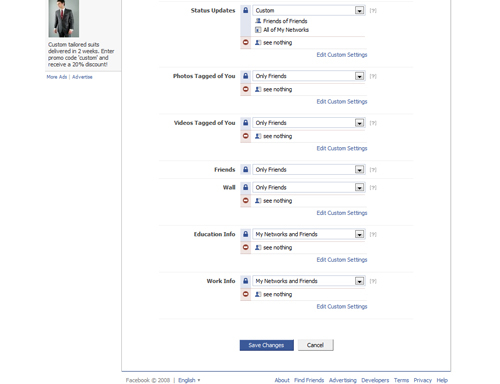
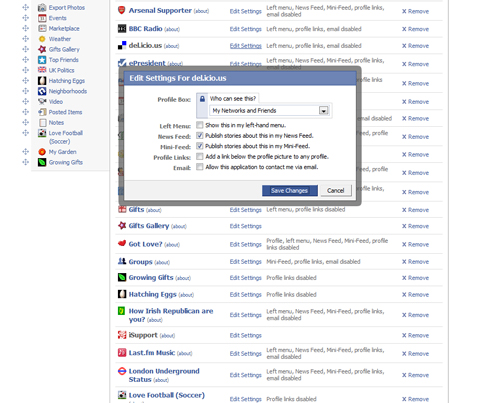
Make sure you save those changes then also customise settings for your applications. To do this click the applications link in the left hand navigation then select each item that you wish to restrict access to on Facebook.

Leave a comment